Showing posts with label pasta. Show all posts

Monday, December 24, 2012

Chocolate Covered Cheesecake Squares


I made these little bites for our office party this year. They are not terribly difficult to make - they just take a little time and practice.

First, you'll make a cheesecake of your choosing. I chose to go with peppermint cheesecake because it felt appropriately festive. If you have a square springform pan, use it, as you'll waste less cheesecake. I only have a regular circular 9" pan, so I made do with it.

After your cheesecake is has been chilled for at least 6 hours, place it in the freezer for at least 60 minutes. Run a large butcher knife under hot water for thirty seconds to heat the blade. Use a clean towel to dry and immediately use knife to cut the cheesecake into 1" squares (If you started with a circular pan, first cut the cake to make a square. I placed the extras in a Tupperware container and put them in the fridge for late night snacking!). You will have to clean the blade after every couple of cuts. The colder the cheesecake and the warmer the knife, the cleaner the cut. Don't be afraid to reheat the knife blade and/or place the cheesecake back in the freezer periodically.

After the cheesecake has been cut into 1" squares, place back in the freezer for 30 minutes. Meanwhile, make chocolate ganache.

~

Chocolate Ganache
The Joy of Cooking

In a small saucepan, bring to a simmer:
3/4 cup heavy whipping cream

Add:
8 ounces bittersweet chocolate, coarsely chopped
Turn off heat and cover for a minute. Whisk together chocolate and cream until chocolate is completely melted. Cover to keep warm.

~

Working in batches, place cheesecake squares on cutting board and even up top and sides. Place squares on a wire cooling rack on top of a cookie sheet (choose a cookie sheet with a lip).

Use spoon to pour ganache over the top of each square so that cakes are evenly coated (if you've made petit fours before, this is the same concept). Carefully transfer the cakes to serving dish. If there is a lot of ganache collecting on the cookie sheet, use a spatula to scoop up and place back in the saucepan where it can be reheated.

Repeat until you've all the cheesecake squares are covered (or you're tired of doing it; I got tired of doing it. I ended up coating about half of them in chocolate; the other half I topped with a thin layer of red cream cheese frosting and then sprinkled diced Candy Cane Hershey Kisses over top).

Decorate as desired.

Eat up!

d

Sunday, December 16, 2012

Peppermint Bark


Today I am thankful.

Thankful for a dreary, rainy Sunday that started when Sydney woke us up at 7:30 in the morning instead of letting us sleep in.

Thankful for a warm shower followed by the happy success of fitting into an outfit for church.

Thankful for my off-key singing of Christmas hymns.

Thankful for my Eggs Benedict brunch where we celebrated our friends' recent engagement.

Thankful for seeing my nephew, who will be a year old (!!) next Sunday, happily chomping on rice puffs and cantaloupe, haphazardly experimenting with talking gulps of water from his mom's water glass.

Thankful to come home and be bored with nothing to do but watch bad Christmas movies and chew on Tums to ward off the joys of acid reflux.

Thankful to eat leftover pizza for dinner and spend the evening making peppermint bark and other holiday sweets.

Thankful for taking a break from the kitchen and watching football with Jason, as he explains yet another rule I never knew (and probably could have gone my entire life without knowing).

Last Sunday I certainly would not have been as purposely thankful for a day like today. But then, last Sunday was not juxtaposed with one of the year's most tragic man-made events. I hope that you, too, are thankful today for the often unrecognized pleasures of simply living.


Peppermint Bark
Kelley Gondring

A couple of things before you get started:

First, I adapted this recipe so that instead of using a double boiler to melt the chocolates (because I don't have one and find it annoying to use a makeshift one), I use the microwave. The key to using a microwave as opposed to the double boiler is to microwave in short increments and after each increment to thoroughly mix the chocolates. This is to assure that the heat is evenly distributed and that chocolate doesn't get so hot that it burns. If you chocolate hasn't completely melted after following the instructions below, microwave it in 15 second increments followed by 10 second stirring until smooth and melted.

Second, because buying high quality baking chocolate can get expensive, it is tempting to use chocolate chips, which are far cheaper. If you choose to do so, remember that chocolate chips are designed not to melt into a puddle but instead keep their shape when put in high heat. This means that if you are microwaving chocolate chips instead of baking chocolate, it is going to take more time, thus you are going to have to be more patient!

Keeping these two things in mind, invert a 12"x9" cookie sheet and cover with a piece of waxed paper or aluminum foil (if using aluminum foil, you can wrap it on the lip of the cookie sheet; if using waxed paper, you'll need a bit of tape). Set aside.

In a small glass bowl, microwave for 30 seconds:
5 ounces white chocolate
Use fork to mix the chocolate. Place back in microwave for an additional 30 seconds. If chocolate is completely melted, pour onto cookie sheet and use spatula to evenly spread in a rectangle.

Dust with:
1/4 cup smashed peppermint candies
Place in refrigerator for 5 minutes.


Meanwhile, in a medium glass bowl, microwave for 45 seconds:
12 ounces semisweet chocolate
Use a fork to mix chocolate (it will not be completely melted yet).

Add:
1 teaspoon peppermint extract
1/2 cup whipping cream


Place back in microwave for an additional 45 seconds. Remove and use fork to mix together. If the chocolate is completely melted at this point, pour over the white chocolate and use a spatula to evenly spread.

Refrigerate until chocolate has hardened (about 30 minutes).

In a medium glass bowl, microwave for 45 seconds:
12 ounces white chocolate
Use a fork to mix the chocolate. Microwave an additional 45 seconds. Again use fork to mix. Pour over the hardened semisweet chocolate and use spatula to evenly spread.

Immediately sprinkle overtop of the melted white chocolate:
1 cup smashed peppermint candies


Place in the refrigerator until the chocolate has hardened (about 30 minutes).

Remove the waxed paper from atop the inverted cookie sheet and place on cutting board. Use a sharp butcher knife to cut into squares.

Keep refrigerated before eating.

Eat up!

Monday, November 12, 2012

Spinach Ravioli


Ravioli-making is no simple task, but if you choose to partake then you will not be disappointed. It was only after I made my own ravioli for the first time that I appreciated the price on the menu at restaurants that took the time to make their own. I tend to think that many pasta dishes are over-priced, as many, not all, of the ingredients are quite inexpensive. However, with ravioli what you're paying for is the sheer amount of human labor it takes to make enough ravioli to serve everyone who orders it.

I've learned that if I am going to make ravioli, I need to allot at least 3 1/2 hours to get the job done. And this is after several rounds of practice. So if this is your first go at making this delicious dish, I would give yourself a whole afternoon. Worst case scenario you end up with extra time on your hands.

The other lesson I've learned is that if I am going to make ravioli for a crowd, I make it the day before so that there is no chance I am crunched for time. It is no fun to be frazzled because your guests are arriving in 20 minutes, you still have two batches of ravioli to make, your kitchen is a mess, and you are not showered. Believe me - I speak from experience!

If you aren't going to use all of this ravioli in one sitting, you can freeze it for weeks/months at a time. I actually made this yesterday and froze all but two servings of this batch so that when little snow pea arrives, we have several easy meals on hand.

Spinach Ravioli
Kelley Gondring

Makes ~80 large ravioli (enough to serve as an entree for ten people)

Pasta
Determining the correct consistency for pasta dough is really tricky. It is truly a "practice makes perfect" kind of thing. While I follow this basic recipe, I always add either more oil or more flour (sometimes even an extra egg!) depending upon the consistency. I say this ahead of time so that you don't stress if you have to tweak the basic recipe.

Add to a food processor:
3 1/2 cups flour [do not pack flour]
6 whole eggs
1-3 tablespoons olive oil

Pulse together until the ingredients just come together.** The dough should be a bit crumbly rather than one cohesive ball. Remove from the food processor. Knead the dough until it is smooth and elastic, about 5 minutes. Add flour or olive oil as necessary.

**If the dough looks completely dry - not like dough at all - test it by taking a scant handful and pressing it together. If it doesn't stay together at all, add an extra egg to the food processor and pulse together again. If it does stay together but feels really dry, add another tablespoon or two of olive oil. Pulse together.

If the dough is one cohesive ball, there isn't enough flour. Remove from the food processor and place on floured countertop. Add one tablespoon of flour at a time as you kneed the dough together.


Cut the dough into eight pieces using a serrated knife. Wrap dough in plastic wrap and refrigerate for about 30 minutes.

Filling
In a medium bowl, combine:
3.5 ounces spinach, cooked, chopped, and drained*
15 ounces ricotta cheese
1 cup mozzarella cheese
1/2 cup parmesan cheese
2 whole eggs
3 cloves minced garlic
1/4 cup minced white onion
2 teaspoons basil
1 teaspoon oregano
salt + pepper to taste

Mix together until evenly combined. Cover with plastic wrap and set aside.

*Weight is after spinach has been cooked and drained; I used one 10 ounce package of frozen spinach.

Steps 4 + 6
Assembly
1. Remove one piece of dough from the refrigerator.
2. Roll out using the lasagna attachment and carefully follow the directions that come with your Pasta Machine. Remember to lightly sprinkle flour on the dough whenever it begins to go from tacky to sticky, as it will get stuck in your machine if you don't.
3. Lay flat on cloth towel.
4. Place 1/2 tablespoon (1 1/2 teaspoons) filling 3/4"-1" away from the left and top of the pasta. Place next dollop of filling 3/4"-1" from previous dollop of filling. Repeat until you run out of room. [Start by placing the filling further apart so that you can practice. As you get better, you can place it a little closer together.]
5. If necessary, use a pizza cutter to cut between every third dollop of filling.
6. Use a pastry brush to brush water over the edges of the pasta and between the filling.

Steps 7 through 10

7. Take the bottom edge of the pasta and pull over top of the filling.
8. Use your fingers to press the top edge and bottom edge together.
9. Starting in the middle and working your way out, press the dough between the filling together, pushing the air bubbles out.
10. Use the pizza cutter to cut out ravioli and trim the edges. [I cut about half of the ravioli out in half moons. The other half I cut into rectangles, making about half of those even fancier by trimming the edges with a pastry wheel. If you choose to do this, let the ravioli dry for about 10 minutes before using the pastry wheel so that there is a clean cut.)
11. Place on lightly floured piece of waxed paper or on dry hand towel.
12. Repeat with remaining dough and filling.

Step 11

If you choose to freeze your ravioli, place them closely together on a cookie sheet, not letting them overlap. Place in freezer for 45-60 minutes before transferring to a freezer-safe bag.


If you choose to eat your ravioli right away, bring a pot of water to a rolling boil. Place ravioli in boiling water for 4-5 minutes. You'll know they're done when they float to the top. Serve with Tomato Sauce or Alfredo Sauce.

Eat up!

Alfredo Sauce

Spinach Ravioli with Alfredo Sauce
Alfredo Sauce
Kelley Gondring

Serves 4

In a medium saucepan, melt over medium heat:
8 tablespoons butter

Whisk in:
1/2 cup milk
1/2 cup heavy cream


Whisk in:
1 cup parmesan cheese
2 teaspoons of your favorite herb
(basil, rosemary, sage, and thyme are my favorites)
1 teaspoon pepper

Serve with fresh pasta.

Eat up!

Sunday, October 7, 2012

White Chocolate Pumpkin Cookies


Did I mention how much I love pumpkin? I found this recipe in my Foster's Market Cookbook several years ago and love to make these cookies in the fall. The original recipe is a bit sweet for my tastebuds, so I cut down on the butterscotch chips and add more oatmeal. And because I like pecans better than walnuts, I substitute the former for the latter.

Mom charged me with making a dessert for the Cousins Reunion we are having today at her house. I've learned that for these types of events, it is better to show up with a finger food-like dessert (cookies, brownies, individual tarts, etc), simply because people fill up on the lunch and think "I don't have room for a piece of cheesecake; I do have room for a cookie."

It was nice to see family members that I haven't seen in years or, in one case, haven't met at all.

White Chocolate Pumpkin Cookies
adapted from Foster's Market

Makes ~40 cookies

Preheat oven 350º


In a large electric mixing bowl mix together:
2 cups flour
1 teaspoon baking soda
1/2 cup butterscotch chips, finely chopped


Mix in:
12 tablespoons butter, softened
1 1/4 cups sugar
2 tablespoons molasses
2/3 cup canned pumpkin puree
1 teaspoon vanilla
1 egg

Scrape down sides of bowl.

Mix in:
1 1/3 cup rolled oats
1 cup white chocolate chips
1 cup pecans, coarsely chopped


Line cookie sheets with parchment paper (don't skip this step; the butterscotch chips make this dough quite sticky). Place tablespoonfuls of dough about an inch apart on cookie sheets. Bake about 15 minutes.


Let cool for 5 minutes before transferring cookies to wire racks. Let cool entirely before storing.

Eat up!

I also love these cookies over vanilla ice cream. I didn't have caramel sauce, which just sounds heavenly, so I used a little chocolate sauce in its place.


Monday, September 17, 2012

Tiramisu Cheesecake


My dad is an amazingly talented woodworker, a talent from which Jason and I have benefitted exceedingly well. Amongst other things, he made our dining room table out of a fallen cherry tree! It is a beautiful piece of workmanship and I am very lucky to eat off of it nearly every day.

As we get our home ready for the new addition, there are a couple projects that Jason and I would like to tackle but don't exactly have the skill set necessary to get them accomplished on our own. Not wanting to take an unfair advantage (let's be clear, I do want to take fair advantage) of his wood-working abilities, I sent him an email proposing an exchange. It went something like this:

Hey Favorite Daddy in the Whole Wide World:

Can we barter goods and services? In exchange for your assistance in carpentry, I can offer you both both pesto and cheesecake (not together unless that's your request).

Love,
Favorite Daughter in the Whole Wide World

Yes, I get that this is not exactly a completely even exchange, but I also know that my pops loves some cheesecake. Happily, I can report he agreed to a brainstorming session so long as it included cheesecake and a cappuccino. Thus my idea for a tiramisu cheesecake was born!


Tiramisu Cheesecake
Kelley Gondring

Preheat oven 500º

Crust
Combine in a medium bowl:
1 1/2 cups graham cracker crumbs
6 tablespoons melted butter
1/4 cup sugar

Thoroughly mix so that all ingredients are well incorporated. Pour mixture into the springform pan. Spread crumbs evenly across the bottom, using your fingers to firmly pack. Place in refrigerator.

Custard
In an electric mixing bowl, add:
2 eight ounce packages cream cheese, softened
2 eight ounce package reduced fat cream cheese, softened

Using the paddle attachment, mix at moderate speed for thirty seconds.

Scrape down the sides of the bowl and slowly add:
1 cup sugar
1/2 teaspoon vanilla
4 tablespoons whipping cream

Mix 1 1/2 minutes so that the ingredients are smooth and creamy. Half way through, scrape down the bottom and sides of the bowl. Over beating the batter will result in it rising too much and then falling when it cools, so set a timer if necessary.

One at a time add:
4 large egg yolks
Beat until yolk is incorporated. Scrape down the sides of the bowl and repeat.

Using a low speed, mix in:
1/2 cup freshly brewed strong espresso, cooled
until just incorporated.

Pour batter into the spring-form pan over top of the graham cracker crumb crust. Cover with a piece of aluminum foil and bake for 12 minutes. Reduce temperature to 200º and bake for 40-45 minutes, removing foil about half way through.

Turn off the oven and use a wooden spoon to hold the oven door ajar (yes, the center of the cheesecake should still be jiggly in the middle). Let the cheesecake sit for 30 minutes.

While the cheese cake is in the oven cooling, prepare Mascarpone Topping.

Mascarpone Topping
adapted from tiramisu recipe in The Joy of Cooking

In a medium bowl with a handle, beat on high until thick and light yellow:
3 large egg yolks
2 1/2 tablespoons sugar


Whisk in:
2 tablespoons sweet Marsala
1 1/2 teaspoons water

Place the bowl over a skillet of simmering water. Whisk constantly until the temperature reaches 160º. [I tried this traditional way and it took forever! As I've mentioned before, I like to cook at night, so after 10 minutes or so, I got impatient and placed the mixture in a glass Pyrex container and put it in the microwave for 15 seconds. I then whisked it, measured the temperature, and repeated three times. If you do it this way, you just need to make sure not to overcook the eggs.] Set mixture in the refrigerator to let cool.

Meanwhile, in a medium bowl, beat on high until soft peaks form:
1/4 cup heavy cream
1 teaspoon vanilla

Set aside.

After 10 minutes or so, remove egg mixture from the refrigerator and whisk in:
6-8 ounces Mascarpone cheese
Gently fold in the whipped cream mixture.

At this point, the cheesecake it probably ready to come out of the oven. Pour the Mascarpone topping over the top of the cheesecake and evenly spread. Place in the refrigerator overnight to let both the cheesecake and the topping completely cool and settle.

Decorate with chocolate shavings, cocoa powder, whipped cream, and espresso beans.

Eat up!


Thursday, September 6, 2012

Chocolate Chip, Oatmeal, and Pecan Cookies

Waiting for former President Clinton to give his speech at the Democratic National Convention, I decided I needed to make cookies. Today, I enjoyed them on the front porch with a cold glass of milk.


Chocolate Chip, Oatmeal, and Pecan Cookies
Kelley Gondring

In a large mixing bowl, cream together:
1 cup butter, softened
1/2 cup peanut butter
3/4 cup brown sugar
3/4 cup white sugar


Add:
2 eggs
1 teaspoon vanilla


Add:
1 teaspoon baking soda
2 cups flour


Mix in:
1 cup diced pecans
2 cups semi-sweet chocolate chips
1 cup oatmeal


Place dollops of cookie dough on lightly greased cookie sheets. Bake for 12-15 minutes or until cookies are golden brown. Dunk in milk if desired.

Eat up!


Wednesday, September 5, 2012

Fettucini Alfredo w/ Broccoli + Sausage


This is a really easy recipe - perfect for a weeknight meal. From turning on the skillet to sitting down for dinner, I think it took 25 minutes.

Fettucini Alfredo w/ Broccoli + Sausage
Kelley Gondring

Serves 4

In a medium skillet, heat:
1/2 cup water
2-3 links sweet Italian sausage

Cover and let cook for 6-8 minutes or until no pink remains in the sausage. Remove skillet from heat. Drain water. Transfer sausage to cutting board and cut into full moon. Return to skillet and heat to medium-high. Let brown for 1-2 minutes. Transfer to plate covered with paper towels. Blot off excess grease. Drain all but about 1 tablespoon of oil from the skillet.

Add to the skillet:
1/4 white onion, finely diced
Reduce heat to medium and cook onions 3-4 minutes or until tender.

Add:
2 cloves garlic, minced
Sauté one minute, stirring constantly to prevent garlic from burning.

Add:
1/2 cup butter

Once butter has melted, stir in:
1 cup whole milk

Once milk and butter are combined, stir in:
1 cup Parmesan cheese
1/2 teaspoon pepper
pinch oregano


Add:
1 1/2 cups broccoli florets
Cover skillet and let broccoli cook for about 5 minutes or until it is tender. Mix in the cooked sausage.

While the broccoli is cooking, bring water to boil in a small pot. Add four servings of your favorite pasta. I used the Homemade Basil Pasta I made this weekend.

To serve, plate pasta first and evenly distribute the Alfredo sauce with broccoli and sausage between plates.

Eat up!

Tuesday, September 4, 2012

Homemade Basil Pasta


We get about half the amount of sunlight that is necessary to nourish our backyard garden, making it nearly impossible to grow much of anything back there. Fortunately, herbs seem to thrive and we've had quite the harvest of basil, oregano, and thyme. We've even had two lemon basil volunteers pop up and successfully produce. As the summer begins to fade, so, too, does the basil. In light of that fact, I made a couple batches of Lemon Basil Pesto. Because I ran out of cheese and nuts for more batches of pesto (I love the stuff!), I decided to spice up my normal homemade pasta by adding basil.

Homemade Basil Pasta
Kelley Gondring

Special Equipment: Pasta Machine [Kitchen Aid also makes an amazing Pasta Roller Attachment]

This recipe yields 18 lasagna noodles and two servings of linguini noodles.

Add to a food processor:
2 cups flour
3 eggs
1/2 teaspoon salt
1/2 teaspoon pepper
1/4 cup packed fresh basil leaves, rinsed and dried
1 tablespoon olive oil

Pulse together until the ingredients just come together. The dough should be a bit crumbly rather than one cohesive ball. Remove from the food processor. Knead the dough until it is smooth and elastic, about 5 minutes.


Cut the dough into four pieces using a serrated knife. [I find that the shape you choose to cut your dough will effect the length and width of your finished product. Cutting the dough into strips works well for longer noodles like angel hair and linguini whereas quartering the dough works well for lasagna noodles and when making ravioli.] Wrap dough in plastic wrap and refrigerate for about 30 minutes.


To roll out pasta, carefully follow the directions that come with your Pasta Machine. Remember to lightly sprinkle flour on the dough whenever it begins to go from tacky to sticky, as it will get stuck in your machine if you don't.

Pasta can be dried for later use or it can be boiled immediately for whatever delicious dish you're making for dinner! Unlike store-bought pastas that typically need 8-10 minutes to cook, the homemade stuff only needs a couple minutes in boiling water.

For those of you who choose to dry the pasta, lay out several clean kitchen towels. Place the pasta flat on the towels and let air dry for several hours. A note of caution: Dogs like pasta! The last time I made pasta, I left it to dry on the kitchen counter -- apparently close enough to the edge for our smart pup to pull the side of the towel off the counter, causing the pasta to fall on the floor and quickly disappear into her belly. When I walked back into the kitchen from whatever I was doing (clearly, not watching the dog), I noticed that the towel was cockeyed, the pasta was gone, and the dog was nowhere to be found. Funnily enough, I actually yelled for Jason and asked him if he'd eaten my noodles! Sydney never confessed, but when she innocently rolled over for a belly rub, her taut tummy gave her away.


Because the basil gives the noodles themselves a kick, I'd pair them with a milder sauce, such as a garlic butter or an alfredo.

Eat up!


Monday, September 3, 2012

Lemon Basil Pesto


Lemon Basil Pesto
Kelley Gondring

Thoroughly wash and dry:
2 cups loosely packed basil leaves
1/4 cup tightly packed lemon basil leaves

Place in food processor.


Add:
1/4 cup pine nuts*
1/4 cup Parmesan cheese**
2-3 cloves garlic
salt + pepper to taste
two drizzles olive oil

Pulse ingredients together 20-30 seconds so that they are all about the same side. Puree 60-90 seconds or until paste forms. Do not add more olive oil before pureeing, as the basil will release its own oils and moisture.

*I used almonds because I was out of pine nuts.
**I used Dubliner cheese because I had a little block sitting in my refrigerator's cheese drawer; because it gives the pesto a somewhat stronger cheese flavor I used a little less than 1/4 cup.


Use on pasta or as a base for pizza.

Eat up!


Sunday, August 26, 2012

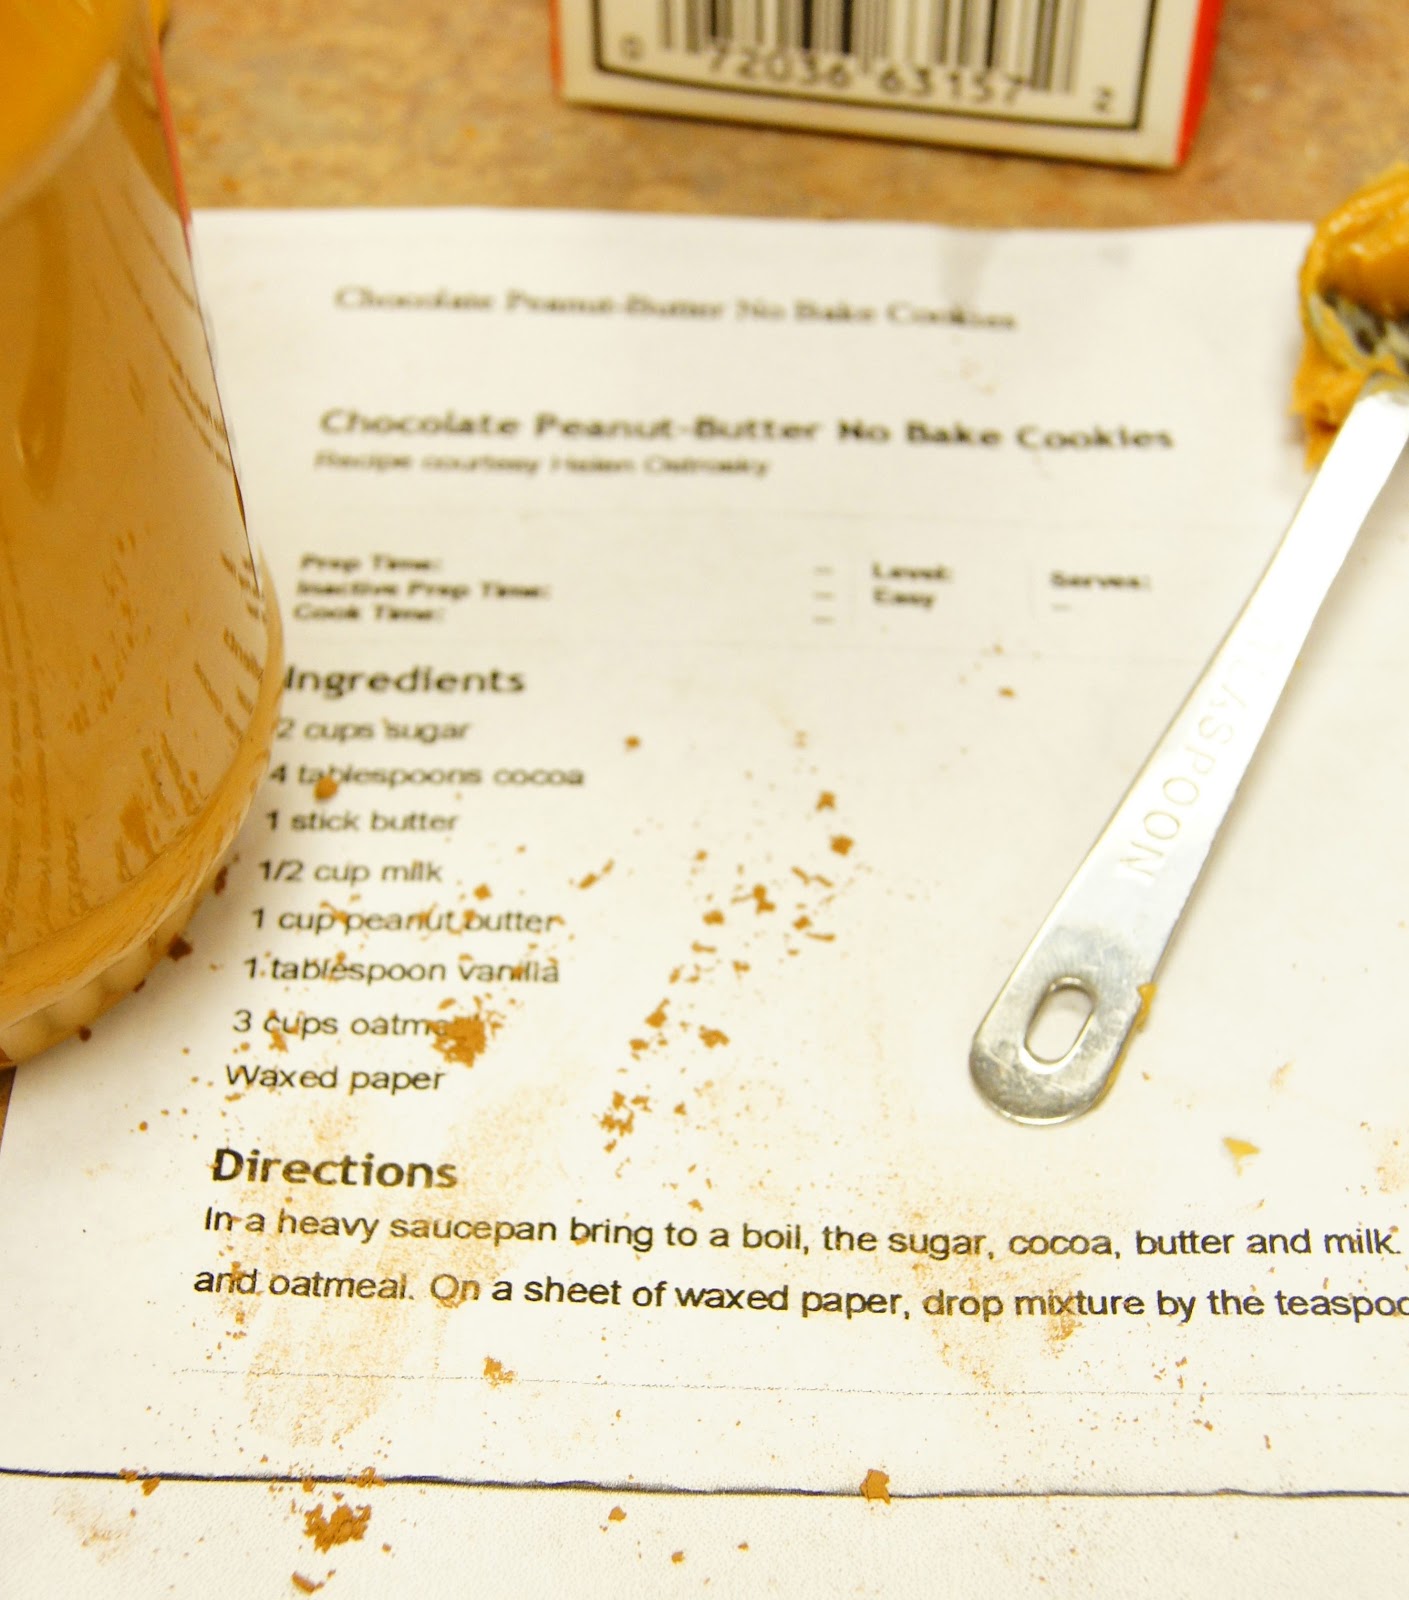
Chocolate Peanut Butter No Bake Cookies


Armed with mixing bowls, measuring cups and spoons, cookie trays and cooling racks, and all the ingredients to make three different types of cookies, twelve members, myself included, of Highland Presbyterian Church headed to The Winston-Salem Rescue Mission on Saturday morning to make cookies for the residents. It was part of Highland's Helping Hands, a community service event where 100+ church members headed out into the community to participate in various service projects.

I usually pick projects with Habitat for Humanity, but given my current "condition" I figured that climbing up on a roof or smelling paint fumes all morning were probably less than ideal projects for me. Breakfast cookies, on the other hand, sounded right up my alley!

Our top-notch leader had organized everything wonderfully, as was exemplified by the recipes she chose for us. Instead of choosing to make three different types of cookies that would all have needed the oven, she picked this recipe for no bake cookies. Combined with traditional-style chocolate chip and sugar cookies we also made, these no bake wonders were perfect!

Chocolate Peanut Butter No Bake Cookies
Food Network

In a small saucepan, bring to a boil:
2 cups sugar
4 tablespoons cocoa
1 stick butter
1/2 cup milk


When the mixture has been boiling for one minute, mix in:
1 cup peanut butter
1 tablespoon vanilla
3 cups oatmeal

Remove from heat.

Line several cookie sheets with waxed paper. Drop spoonfuls of batter onto the waxed paper. Place in refrigerator to let cool. When they've hardened, they're ready to eat.

Eat up!