
In my mind, nothing beats a toasted everything bagel with butter and cream cheese for breakfast. Unfortunately, Thomas's bagels have never done it for me, probably because they're bagel-shaped bread. No, I prefer a chewy-on-the-outside, soft-on-the-inside bagel to sink my teeth into.
I am lucky to have an amazing place to buy authentic bagels within walking distance. In fact, at least one weekend morning each month, Jason and I walk with the dog towards breakfast, stopping first at Starbucks for my tall skim decaf latte and then popping over to The Bagel Station, where we order Jason's orange juice and three different freshly-made bagels (generally one salt and one blueberry, with the third changing each time). We don't wait to get home to eat them: we just haphazardly juggle Sydney's leash with my coffee, his orange juice, and our bag of bagels.
Last year, I decided that it would be prudent to learn to make my own bagels, thinking, "How hard could it be?" Well, bagels aren't any more difficult to make than a normal loaf of bread, and there are definitely parts of the process that are more fun. The big downside is that to do them right, you need to allot three days to the process. I know it is tough to fit in making a starter on Friday morning before work so that you can eat fresh bagels on Sunday morning, but if you want a delicious bagel, you should try to fit it into your morning once in awhile!
10 Everything Bagels
taken from The Bread Bible by Rose Levy Beranbaum
Even though I know I should, I don't usually read a recipe through in its entirety before starting.
That being said, this is one recipe that you should take the time to read through because there are so many steps.

 Day One
Active time: 30-40 minutes
In a large bowl, combine the following ingredients for your starter:
1 teaspoon yeast
2 1/4 cups room temperature water
3 cups bread flour [I used King Arthur]
Mix until very smooth, occasionally scraping down the sides. Set aside.
In separate bowl, combine:
1 1/4 cups bread flour
1/2 teaspoon yeast
1 1/2 teaspoons sugar
1 1/2 teaspoons salt
1/2 teaspoon ground black pepper
Thoroughly mix. Using a sieve, sprinkle this mixture over the starter. Do not mix. Cover with plastic wrap and set aside for 24 hours, preferably 1 hour at room temperature followed by 23 hours in the refrigerator.
Day Two
Active Time: 75 minutes
Total Time: 180 minutes
Remove the flour/starter mixture from the refrigerator about 30 minutes before you handle the dough. With a wooden spoon, mix the flour with the starter until it becomes difficult to mix. If the dough is too liquidy, add bread flour a little at a time until the dough can be handled (dough should still be sticky). Lightly flour counter, remove dough from bowl, and knead for 5 minutes. This allows the bagel's structure to begin developing. Don't worry -- it will still be sticky at this point. Cover the dough with an inverted bowl and allow to rest for 20 minutes.
Knead dough another 15 minutes so that the dough is smooth and elastic. At this point, the dough should be tacky but not sticky. If it is still sticky, incorporate more flour a little at a time (be careful not to add too much as it can make your bagels go from chewy to rock-like!).
Place dough into well-oiled bowl (your bowl should be large enough to permit the dough to double in size as it rises). Drizzle oil over the dough and spread over surface. Cover with plastic wrap; allow to rise 1-2 hours or until doubled.
Once dough doubles, remove plastic wrap and push dough down to deflate. Remove from bowl and knead once. Place back in bowl, again oiling the bowl and top of dough. Replace plastic wrap and let rise in refrigerator for 24 hours.
Day Three
Active Time: 90 minutes
Preheat oven to 500º degrees.
This is the fun part, as today you will shape, boil, bake, and eat, your bagels! Start by removing the dough from the bowl and cut it in half. Place one half back in the fridge and cover with plastic wrap. Cut the dough that is still on your counter into five equal pieces (Note: There are two different ways to shape your bagels. If you are planning on using method one, cut dough into five equal squares; if you are planning on using method two, cut dough into five equal strips). Let dough rest 10 minutes.
Shaping the Dough: Method One (I like this method better)
Draw up the corners of the dough, pulling them toward each other. Your goal is to make a square into a circle. Push the corners into the center and use your finger to poke a hole in the middle. At this point, the dough should resemble a bagel or doughnut. Stretch the dough so that the hole's diameter is about 2 inches.
Shaping the Dough: Method Two
Roll the dough to form a 12 inch long rope. Bring the ends together so that they overlap several inches. Squish ends together and roll so that they stay together.

Place the bagels on a dish towel near your stove and cover with a second dish towel. Let the dough rise 15-20 minutes.
In the meantime, fill a large pot about half-way with water. Bring water to a boil and add:
2 tablespoons molasses
1 teaspoon baking soda
In a separate bowl, whisk together
2 large egg whites

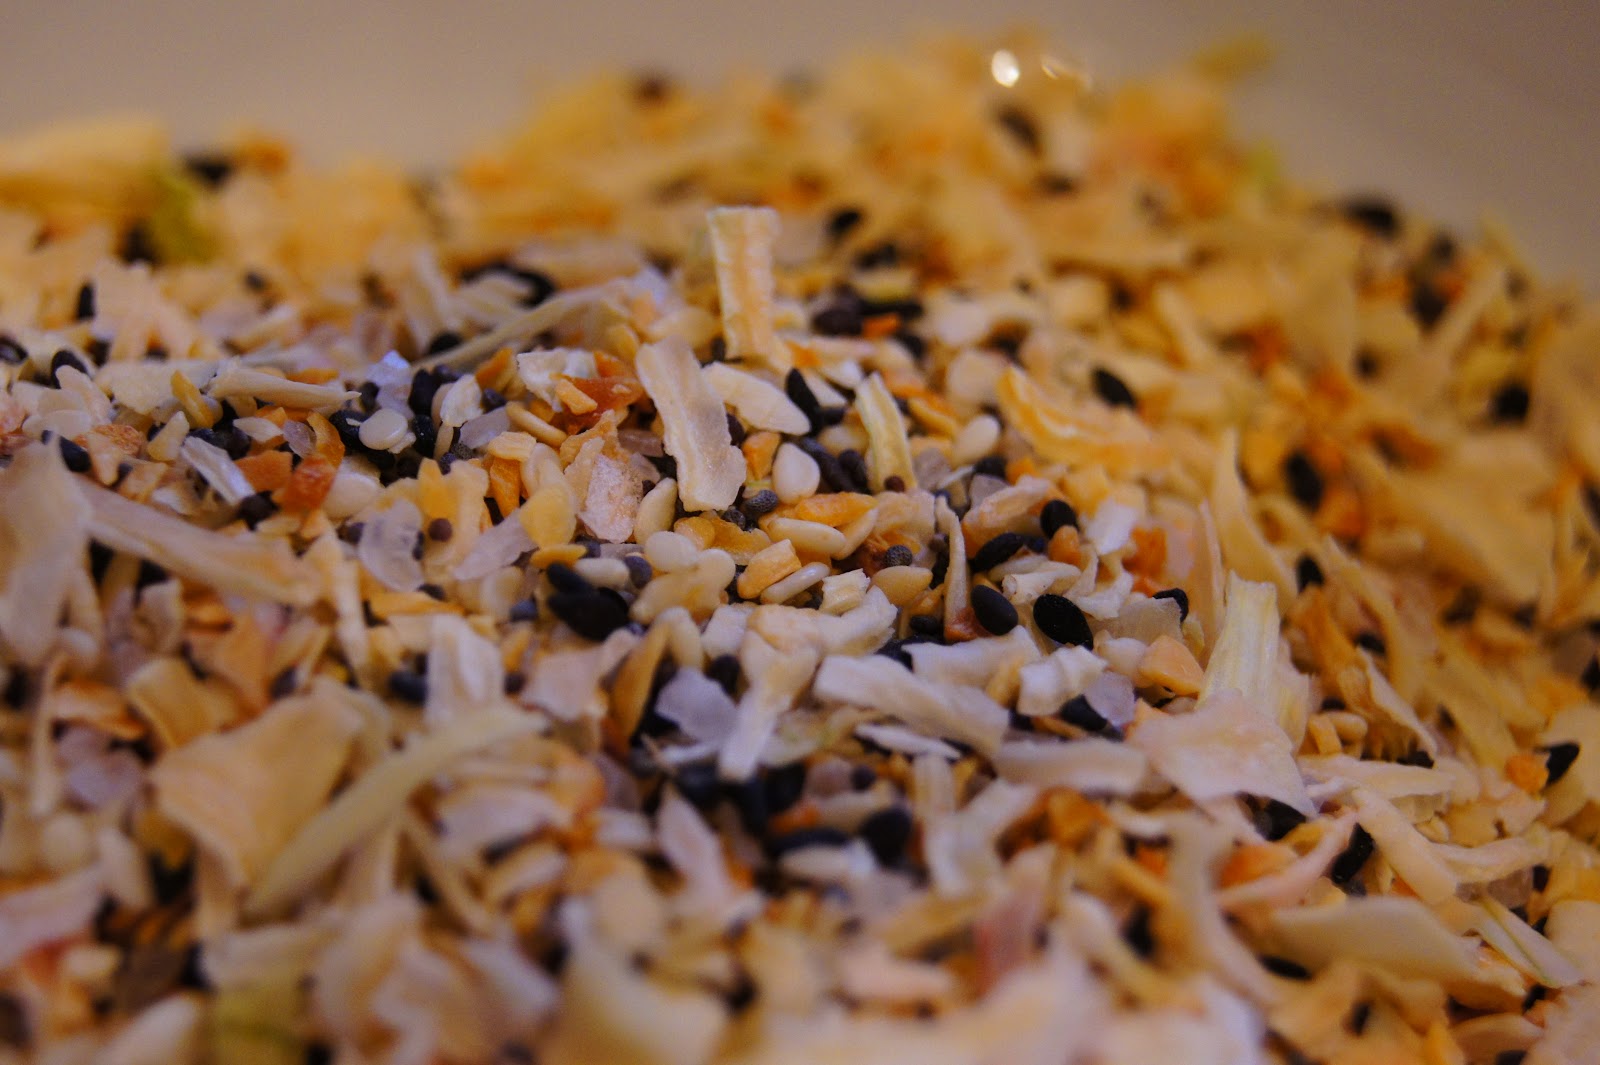 If using toppings, combine in another bowl. I used poppy and sesame seeds, coarse salt, minced dried garlic and onion.
Line cookie sheet with parchment paper.
Carefully, add the bagels one at a time to the water. You want them to have room to float around without bumping into each other too much. Let boil 30 seconds to 2 minutes (a longer boil creates a thicker crust), flipping half-way through. If your bagel sinks to the bottom, it will probably float to the top on its own. If it's being stubborn, carefully use a skimmer to help unstick it from the bottom. Remove the bagels from the water and place on dish towel. The bagel might be a little wrinkly, but that's perfectly fine and normal. Baste boiled with egg whites and sprinkle with desired amount of topping.


Repeat with remaining dough.
Eat up!
No comments:
Post a Comment