Saturday, October 27, 2012

A Nutty Spin on Mexican Wedding Cookies


Traditionally Mexican Wedding Cookies (actually called Cakes) are made with pecans. Because I didn't have nearly enough pecans, I decided to mix it up and make them with pecans, walnuts, and almonds, also adding a bit of almond extract. I remember eating the traditional version these during the holidays at my Grandma Kelley's house, along with Almond Butter Cookies and Toffee Cups. I love that they are coated in powdered sugar and how they practically melt in your mouth!

I made these for Jason's open house tomorrow and will take the leftovers to work (after ingesting a few myself, admittedly).

A Nutty Spin on Mexican Wedding Cookies
Kelley Gondring

Makes ~5 1/2 dozen cookies

Preheat oven 350°

Place on a cookie sheet:
1/2 cup pecans
1/2 cup walnuts
1 cup sliced almonds

Brown in oven, about 5 minutes. If using convection oven, check periodically. Remove from oven. Place in food processor and pulse until a coarse meal forms. Set aside.

In an electric mixing bowl, use paddle attachment to cream together:
2 cups butter, room temperature
1 cup confectioner's sugar


Mix in:
1 tablespoon + 1 teaspoon vanilla extract
1/2 teaspoon almond extract


One cup at a time, add in:
4 cups all-purpose flour
Scrape down sides of bowl after each addition. Mix in the nuts.

Form a ball of dough in the mixing bowl. Cover with plastic wrap and place in the refrigerator for 30 minutes.

Using about a tablespoon of dough, roll dough into balls using palms. Place on a greased cookie sheet.


Bake 18-20 minutes.

Remove from oven and let cool on cookie sheet 5 minutes (don't skip this step or the cookie will fall apart when you're in the middle of the next step).


While the cookies cool, place in a medium bowl:
1 cup confectioner's sugar

A few cookies at a time, place cookies in bowl of sugar and throughly coat them. Remove and place on a cooling rack to finish cooling.


After they've completely cooled, store in airtight container.

Eat up!

Friday, October 26, 2012

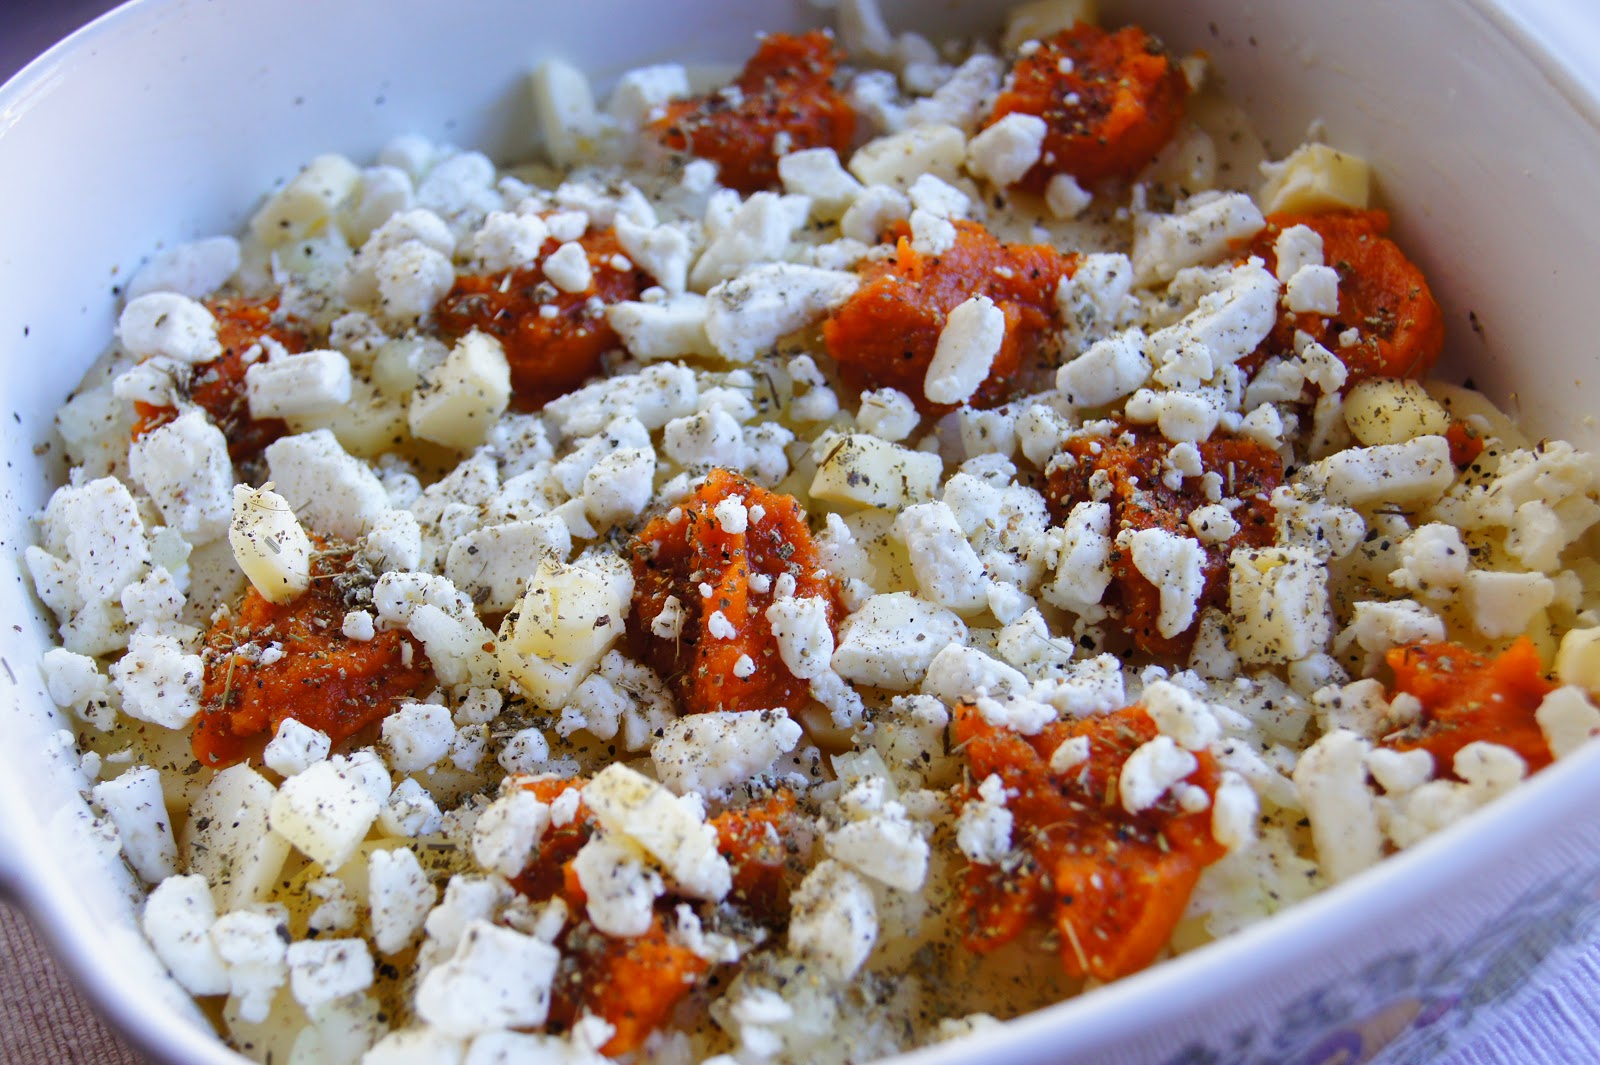
Pumpkin + Goat Cheese Breakfast Casserole


Pumpkin + Goat Cheese Breakfast Casserole
Kelley Gondring

Serves 4

Preheat oven 400°

Grease a small casserole dish.

You'll need:
1/2 pound potatoes, peeled and scalloped
4 tablespoons sweet onion, finely diced
24 heaping teaspoons pumpkin puree
1 1/2 cups crumbled goat cheese
2 tablespoons butter, cut into small pieces


To assemble, spread 1/2 of the potatoes evenly on the bottom of the casserole dish. Sprinkle with 2 tablespoons onion. Plop 12 heaping teaspoons of pumpkin sporadically on top of the onion. Sprinkle with 3/4 cup of goat cheese. Dot with half the butter. Repeat to make a second identical layer.


In a large cup, combine:
8 eggs
1/2 cup whole milk
1/4 cup heavy cream
1 1/2-2 teaspoons rubbed sage
1 1/2 teaspoons coarsely ground black pepper
1 teaspoon salt

Pour over layered potatoes.


Bake for ~45 minutes or until golden brown on top.

Serve with breakfast meat and fruit.


Eat up!

Cobb Salad - A Variation


I usually turn my nose up at iceberg lettuce, but this salad is the perfect example of where iceberg lettuce shines. The crunch of the leaves in this salad are what make it divine. My normal go-to of spinach leaves or romaine would just not work as well here.

Cobb Salad - A Variation
Kelley Gondring

Serves 4

Dressing
In a small bowl, combine:
1 8 ounce container plain Greek yogurt
1 1/2 tablespoons fresh lemon juice
1 1/2 teaspoons cracked pepper
1 teaspoon salt


Salad
1 small head of iceberg lettuce, cut into quarters

In a medium bowl, combine:
1 large cucumber, peeled, deseeded, and coarsely diced
1/2 small red onion, peeled and coarsely diced
1 cup blue cheese crumbles
[substitute feta if you don't like blue cheese]

8 pieces cooked bacon, broken into medium pieces

4 hard boiled eggs, sliced lengthwise

1 avocado, cut into 8 slices

2 small ripe tomatoes, coarsely diced

Just before serving, combine the cucumber/onion mixture with the dressing.

I like to plate the ingredients individually so that folks can leave out the ingredients they don't like (Me: Tomato; Mother-in-Law: Avocado). Plus, leaving it all separate means the lettuce is less likely to get soggy if time passes before you can eat.

However, if you're going to eat immediately and you know everyone likes everything, you can toss the all the ingredients together in a giant salad bowl and serve.

Eat up!

Candied Grapefruit Peel

I'd never had candied grapefruit peel until I spent the holidays with Jason's grandmother. Each year before Christmas, she and Jason's mom get together for at least a day of baking and make various Christmas cookies, candied grapefruit and orange peel, and toffee. I was a bit skeptical of the peel - isn't there a reason we just throw it away? - but when I tried it I was hooked.

After a heavy holiday meal, sometimes I want something a little sweet that isn't too much of a commitment. These little bites are the perfect balance of sweet and tart and they don't add weight to your already bloated tummy. (Don't get me wrong, I pretty much always eat the dessert, too, but I'm just sayin'!) The other awesome thing about using the peel is that it's on hand anyway, as we buy a big box of grapefruits from Jason's grandfather every year.

So as the holidays approach, keep this candy in mind. It is easy to make and will make your tastebuds happy!


Candied Grapefruit Peel
adapted from The Joy of Cooking

Start with the peel of 2 grapefruit
Cut into small strips, around 2" long and 1/4" wide. Use a sharp serrated knife to remove most of the pith (the white stuff). I like to leave a little, though the original recipe calls for removing all of it. Leaving just a little does make it a bit more bitter, but the pith is also more absorbent than the peel, so it makes the finished product juicer. And because it soaks up more syrup, I don't find it overwhelmingly bitter.


In a medium saucepan, combine:
1 cup sugar
3 tablespoons light corn syrup
3/4 cup water
1/4 teaspoon almond extract

Turn heat to medium and use a whisk to help the sugar crystals dissolve. Once all of the sugar has dissolved, add the grapefruit peel. Cook over low heat uncovered for 20-30 minutes or until most, not all, of the syrup is absorbed by the peel.

NOTE: Don't let the syrup get too hot or when the peel dries, it will stick to your teeth and you'll have to throw the whole batch out.


Remove from the heat, cover, and let stand for several hours.

Once again heat the syrup and let simmer for 5 minutes. Remove from the heat and pour off the excess syrup. Let sit to cool for a moment.

Meanwhile, lay out a large, clean cloth towel on the counter. Pour onto of it:
1 cup sugar

Roll the grapefruit peel in the sugar until each piece is completely coated.


Transfer to a sheet of waxed paper and let cool completely before storing in an airtight container.


Refrigerated, the peel will stay good for several months.

Eat up!

Peppermint Marshmallows


It never fails that when I go to the grocery store in search of marshmallows, I have to stroll down multiple isles - each with a greater sense of frustration - before I finally find them! But now that I've made them, I think that I will have more success on my future trips. And why is this, you ask? Well, because now that I understand how to make a marshmallow, I understand why they are found on the candy isle. Marshmallow-making is candy-making. When you heat the simple syrup to a specific temperature, you are doing the exact same thing you do when you make hard candies or caramels: Heating the sugars to a certain temperature so that they chemically change and act the way you want them to act.

This was my "ah ha!" moment yesterday.

I haven't had one today but then the day is still young.

Peppermint Marshmallows
adapted from Betty Crocker

Grease a 9x13" glass baking dish with:
1 tablespoon butter, softened
Dust with:
1 tablespoon powdered sugar

In an electric mixing bowl, add:
1/2 cup water
2 1/2 tablespoons unflavored gelatin [3 packets]

Set aside.

In a medium saucepan, combine:
1 1/2 cups sugar
1 cup light corn syrup
1/2 cup water
1/4 teaspoon salt

Bring to a simmer over medium high heat. Use candy thermometer to gauge temperature. Remove from heat when temperature reaches 240°. This took a little under 10 minutes on my stovetop, though I will note that the original recipe says it will take 30 minutes, so stovetops may vary. At any rate, the important thing is reaching the temperature, not how much time it takes.
Remove syrup from heat and pour immediately into the electric mixing bowl. Use the paddle attachment to slowly beat for 30 seconds. Increase the speed to high and beat for 8 minutes so that the mixture is white and tripled in volume.

Add:
1 teaspoon peppermint extract
Beat for one minute more.

Reduce the speed to low and add here and there:
8 drops of red food coloring
Beat for 5 seconds.

Now comes the really fun part (insert sarcasm here).

Rant: Marshmallow fluff, so to speak, is very sticky stuff! More power to anyone who is able to get all of it out of the bowl. I preface the directions with this information because if you read the original recipe, you'd have no idea how tough the next steps are on your patience. If anyone has tips on how to make this easier, I'd certainly welcome them!

Okay...back to the recipe.


Use a damp spatula to help pour the mixture into the baking dish, knowing that it is okay if you can't get all of the fluff into the dish. Once you've gotten out all that you can, wet your hands and use your palms to help spread the marshmallow evenly into the pan. Be careful not to touch the glass dish, as you don't want to disturb the butter/powdered sugar layer.

Set the baking dish aside, uncovered, for 8 hours.
--
In a small bowl, place:
1/3-1/2 cup powdered sugar

Place two large pieces of waxed paper onto the counter. Dust with powdered sugar. Use butter knife to loosen the edges of the marshmallow from the dish. With dry hands also dusted with powdered sugar, remove the marshmallow from the baking dish in one piece. Use a very sharp butcher knife that you've greased with butter to cut marshmallows into small squares.

A few at a time, place the marshmallows into the bowl and coat all over with powdered sugar.

Store in an airtight container, up to 3 weeks.

Use in hot chocolate and/or give as treats to those you love.

Eat up!